
Mastering the art of displaying the worksheet name in a cell can revolutionize your Excel experience, especially when juggling multiple sheets. Whether you’re crafting dynamic report headers or developing sheet-specific formulas, this skill is indispensable.
In this guide, we’ll take you through the simple yet powerful steps to seamlessly link your worksheet names to a cell, enhancing your Excel proficiency.
Introduction
Learning how to return the worksheet name in a cell might seem like an innocuous skill but it’s particularly valuable in scenarios such as creating dynamic document titles. Imagine a monthly report that automatically updates its title to reflect the current worksheet, eliminating manual edits.
Or consider a complex project tracker where each sheet represents a different phase; having the sheet name displayed in a cell can serve as a quick reference, enhancing clarity and reducing the chances of data mishaps.
By learning to dynamically return the worksheet name in a cell, you’ll not only boost your Excel efficiency but also add a layer of sophistication to your data management practices.
Example Scenario
Let’s learn how to return the worksheet name in a cell via an example.
Take a fairly typical sales report, we’ll call it “Sales Data.xlsx“. The workbook captures the daily sales made by a company and uses a new worksheet each time to capture the individual months, for example “Sales for Jan-24” and “Sales for Feb-24” are the worksheet names.
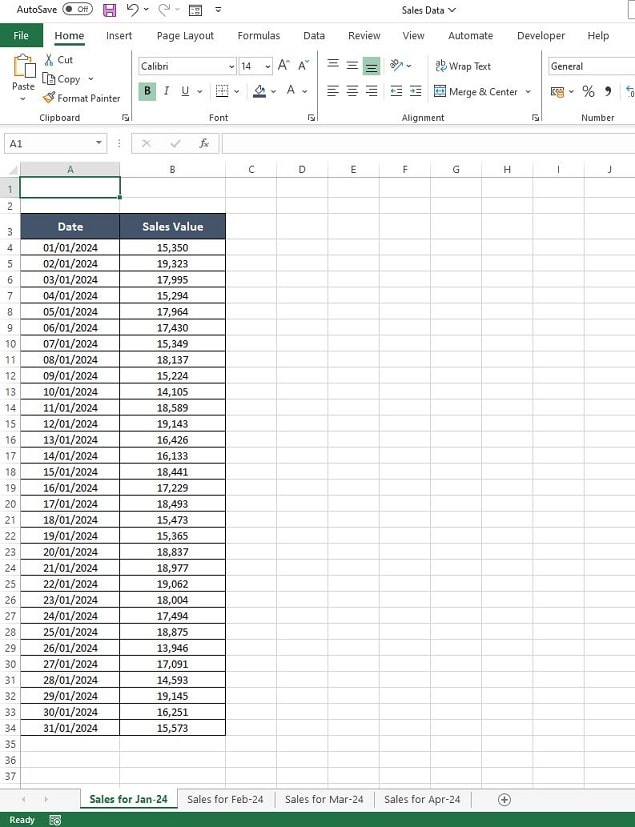
Our goal is to make the worksheet name automatically appear in Cell A1.
Imagine seamlessly transitioning your file into the next year: instead of manually updating headings and worksheet names, you’ll simply change the worksheet name. This small yet impactful adjustment saves time and ensures accuracy, making your Excel workbook more efficient and user-friendly.
The Solution: A Step-by-Step Guide
To unlock the method for displaying the worksheet name in a cell, we’ll employ three crucial Excel functions:
- The CELL(“filename”) Function
- The MID Function
- The FIND Function
Understanding the CELL Function for FILENAME
The CELL function is your starting point. When you enter =CELL(“filename”) in any cell of a saved Excel workbook, it retrieves the complete file path, the file name, and the current sheet’s name. For example, entering this function in Cell A1 of your workbook would display something like “C:\My Docs[Sales Data.xlsx]Jan-24“. This output changes dynamically based on the worksheet you’re in, providing the unique identifier for each sheet.
The text string format is consistent: the file path comes first, followed by the file name in square brackets, and finally, the worksheet name. Understanding this format is key, as our objective is to isolate and display only the worksheet name.
Leveraging the MID Function
Next, we introduce the MID function, a powerful tool for extracting a specific part of a text string. The format of the MID function is =MID(text, start_num, num_chars), where:
- text is the string from which you want to extract,
- start_num is the starting position in the text string (counting from 1),
- num_chars is the number of characters to extract.
Applying the FIND Function
The FIND function is critical for pinpointing the position of a specific character within a text string. For our purpose, the closing square bracket “]” in the filename string is our target. The FIND function’s format is =FIND(find_text, within_text), where:
- find_text is the character or sequence to find,
- within_text is the text string or cell reference to search within.
Crafting the Complete Solution
Combining these three functions, we can construct a formula to display the worksheet name in a cell effectively:
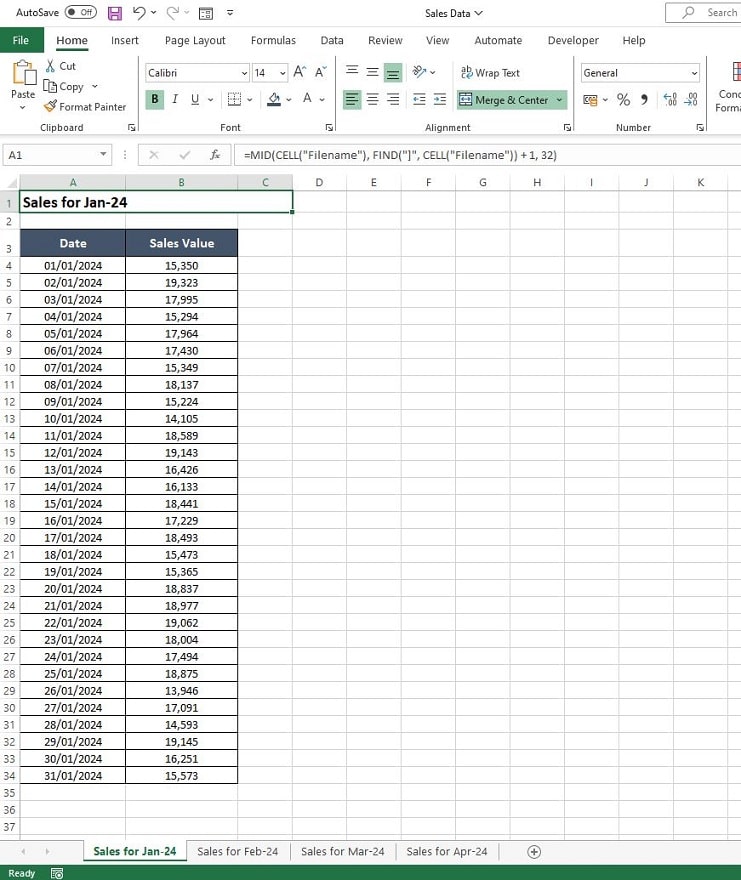
- =MID(CELL(“Filename”), FIND(“]”, CELL(“Filename”)) + 1, 32)
This formula will extract and display the worksheet name in the cell where it’s entered. For instance, placing it in Cell A1 will ensure that A1 reflects the name of the current worksheet.
Practical Implementation
To implement this solution:
- Copy the above formula.
- Paste it into Cell A1 (or your preferred cell) of each worksheet in your workbook.
This method ensures that each sheet automatically displays its name in the designated cell, streamlining workbook navigation and management. It’s an elegant solution that’s both beginner-friendly and highly effective.
Test It Out
I encourage you to try this solution in one of your saved workbooks. The ease and efficiency of having the worksheet name automatically populated in a cell will not only save you time but also enhance the professionalism of your Excel documents.
Summary
In this guide, we explored the efficient technique of displaying the worksheet name in a cell, an invaluable skill for Excel users.
We delved into three critical Excel functions: the CELL function (specifically using “filename“), the MID function, and the FIND function. Each plays a vital role in creating a formula that dynamically returns the worksheet name in any selected cell, typically Cell A1, for easy reference.
This method not only enhances the organization of multi-sheet workbooks but also significantly simplifies ongoing document management. By implementing this solution, users can ensure that each worksheet automatically updates its header with its name, making it a perfect fit for reports, trackers, and various data management tasks.
The simplicity and practicality of this technique make it a must-learn for both beginners and seasoned Excel users, keen on streamlining their work with dynamic and effective Excel solutions.
Keep Excelling,

Just mastered displaying worksheet names in cells and hungry for more Excel wisdom? Ever faced a baffling situation where your Excel formula just refuses to calculate, leaving you scratching your head? Don’t let formula frustrations slow you down!
Click over to our next post, ‘Excel Formula Does Not Calculate‘, and uncover the secrets to troubleshooting this common yet perplexing issue.