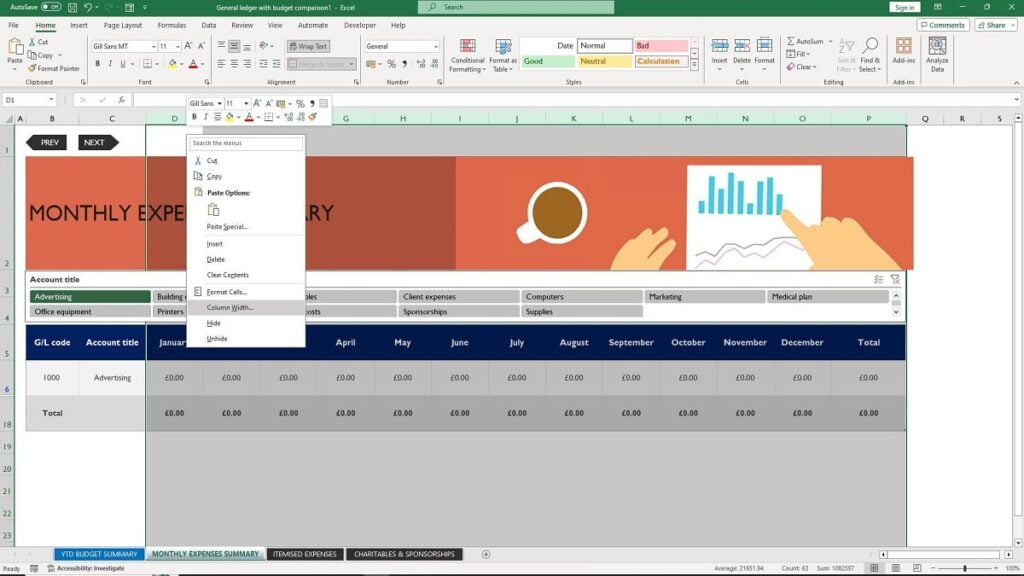
Today, we’re diving deep into an Excel topic that seems simple on the surface but holds immense potential for automating and streamlining your workflow: column widths. Specifically, we will explore how to control them with VBA macros, making this your go-to guide on mastering the columnwidths VBA statement in Excel.
If you’re wondering what the best way to learn VBA is, the answer lies in practical, real-world applications that solve everyday problems. So let’s roll up our sleeves and learn some VBA macros that focus on column widths.

Why Control Column Widths?
Before we get into the nitty-gritty, let’s consider why you might want to control column widths in Excel. For one, the default column width doesn’t always suit the data you’re working with. Also, if you’re sharing spreadsheets, consistent and readable column sizes can make the information much more accessible.
Secondly manual adjustments can be cumbersome and time-consuming. Whereas if you understand the columnwidths VBA statement in Excel you will be able to set your Excel file to perform those adjustments with one-click. Let’s look at some code examples that will cover all your columnwidths vba needs in Excel.
Set Column Width for All Columns on a Single Worksheet
Sub ResizeColumns()
    Dim ws As Worksheet
    Dim col As Range

    Set ws = ThisWorkbook.ActiveSheet

    For Each col In ws.Columns
        col.ColumnWidth = 20
    Next col
End Sub
In this code, we first define the active worksheet as ‘ws’ and then loop through each column in that worksheet. We set every column’s width to 20 units. The ‘For Each’ loop ensures that every single column is affected.
Autofit Columns on a Single Worksheet
Sub AutofitColumns()
    Dim ws As Worksheet

    Set ws = ThisWorkbook.ActiveSheet

    ws.Cells.EntireColumn.AutoFit
End Sub
Here, the focus is on letting Excel determine the optimal column width. After setting ‘ws’ to refer to the active sheet, the .AutoFit method is applied to all columns. This automatically adjusts each column to fit its largest content.
Adjust Column Width Across Multiple Worksheets
Sub ResizeColumnsInWorksheets()
    Dim ws As Worksheet

    For Each ws In ThisWorkbook.Worksheets
        ws.Cells.EntireColumn.ColumnWidth = 20
    Next ws
End Sub
This time, we loop through each worksheet in the workbook, rather than just the active sheet. For each worksheet, we set the column width to 20 units. This is great for maintaining uniformity across various sheets. Remember if you want to customise this VBA all you have to do is change the columnwidths VBA statement from 20 to the size that meets your requirements.
Autofit Column Widths Across Multiple Worksheets
Sub AutofitColumnsInWorksheets()
    Dim ws As Worksheet

    For Each ws In ThisWorkbook.Worksheets
        ws.Cells.EntireColumn.AutoFit
    Next ws
End Sub
Similar to the last code but with autofit, we iterate through all worksheets in the workbook. The .AutoFit method adjusts the columns for each sheet to their optimal size, based on the data they contain.
Setting Column Width for a Specific Range
Sub ResizeSpecificRange()
    Dim ws As Worksheet

    Set ws = ThisWorkbook.Sheets("Sheet1")

    ws.Range("A1:C10").EntireColumn.ColumnWidth = 20
End Sub
This piece of code targets a specific range, “A1:C10,” in a specified sheet, which is “Sheet1” in this example. We then set the column width of this range to 20 units, leaving other columns unaffected.
Autofit with a Maximum Size
Sub AutofitWithMaxSize()
    Dim ws As Worksheet
    Dim col As Range
    Dim maxWidth As Double

    maxWidth = 50

    Set ws = ThisWorkbook.ActiveSheet

    ws.Cells.EntireColumn.AutoFit

    For Each col In ws.Columns
        If col.ColumnWidth > maxWidth Then
            col.ColumnWidth = maxWidth
        End If
    Next col
End Sub
The magic here is in combining autofit with a maximum width limit. After autofitting all columns, we go through each column and check its width. If any column exceeds the set maximum width of 50 units, it gets resized to that maximum.
Conclusion
You are now equipped to manipulate columnwidths in VBA like a pro. And remember, the best way to learn VBA is through practical examples like these. Keep practicing, and you’ll find that VBA macros become a powerful tool in your data management arsenal.
Keep Excelling,

Ready to continue your Excel VBA journey? Learn How to Assign Macros to Shapes and enhance your data visualization skills with this step-by-step guide.

