
Dealing with blank rows in Excel can be a common yet frustrating issue, especially for beginners. Whether these empty rows are a result of data entry or importing data from other sources, removing them is essential for clean and accurate data analysis. In this guide, we explore three different methods to remove blank rows in Excel, each with its unique advantages.
Introduction
Blank rows in Excel might seem harmless at first glance, but they can be quite the nuisance, especially for those heavily involved in data analysis. They not only interfere with accurate calculations and results but also complicate data visualization and reporting processes. But worry not; whether you’re a beginner or a seasoned Excel user, we’ve got you covered.
In this guide, we’ll explore three methods for getting rid of those blank rows in Excel:
- Method 1: Using the ‘Go To Special‘ Command – A quick solution for those in a hurry.
- Method 2: Sorting to Identify and Remove Blank Rows – Perfect for large datasets.
- Method 3: Filtering Out Blank Rows – Ideal for maintaining data integrity.
We’ll dive into each method, detailing the steps and situations where they shine the brightest. By the end of this guide, you’ll not only be equipped to choose the right method for your specific situation but also be well on your way to becoming an Excel wizard!
Method 1: Using the ‘Go To Special’ Command
The ‘Go To Special‘ command in Excel is a powerful tool for selecting specific types of cells, including blank ones. This method is great for quickly locating and removing all blank cells in a specific range. However, it requires caution as deleting entire rows can affect data structure if not done correctly.
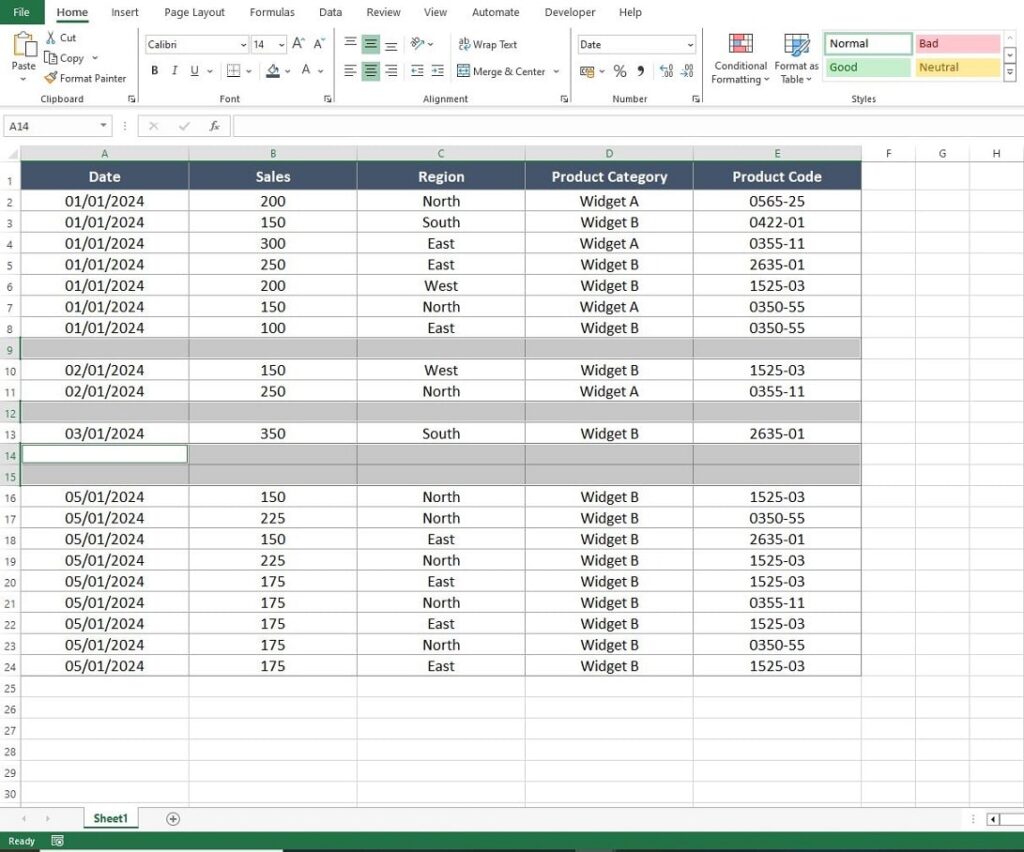
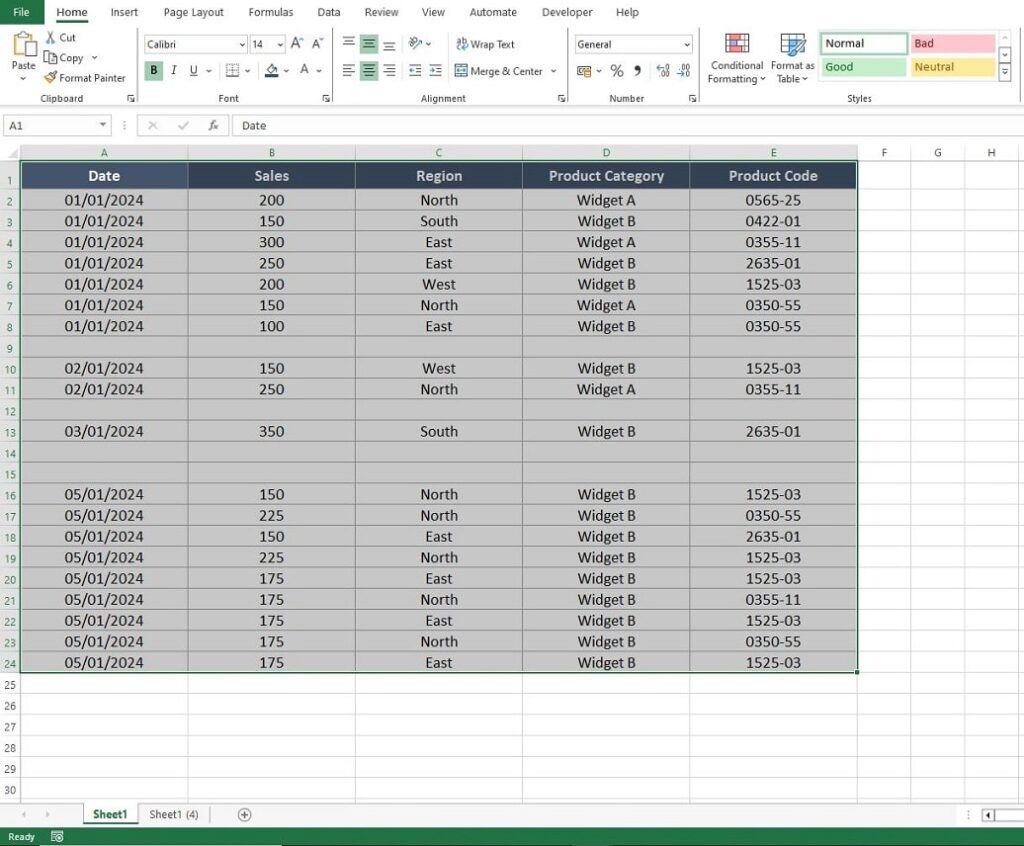
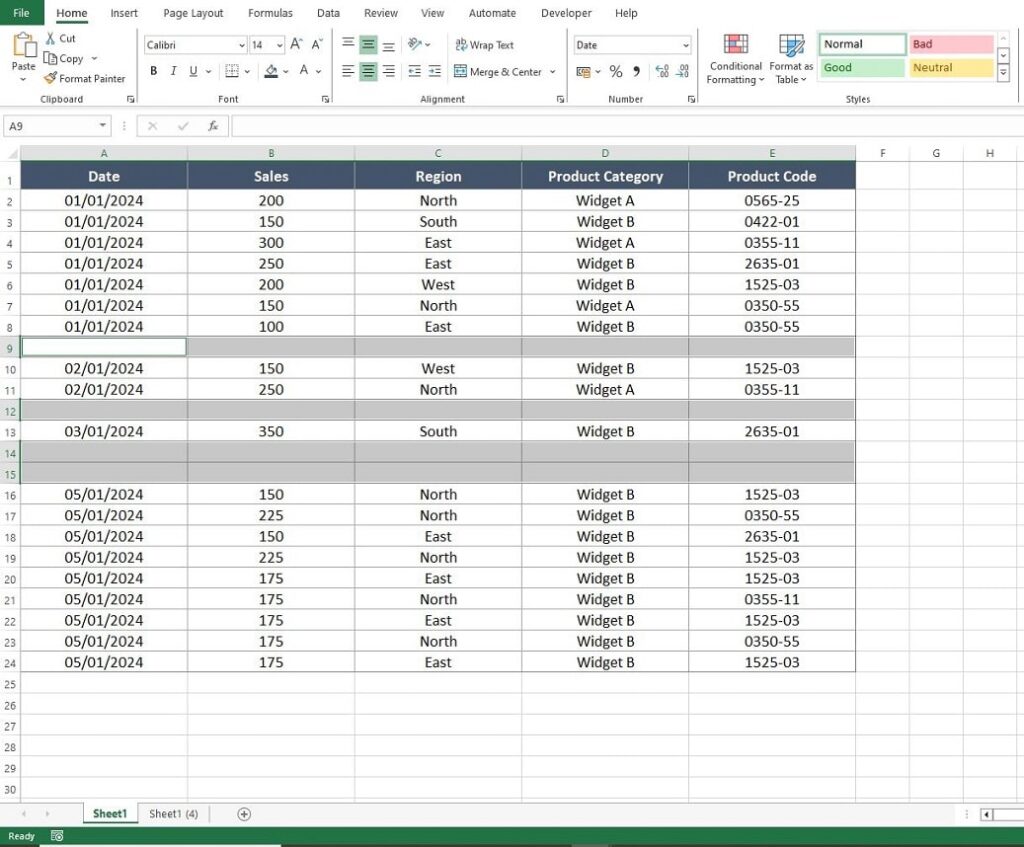
- Highlight your data range. Take care to make sure everything is highlighted including the blank rows.
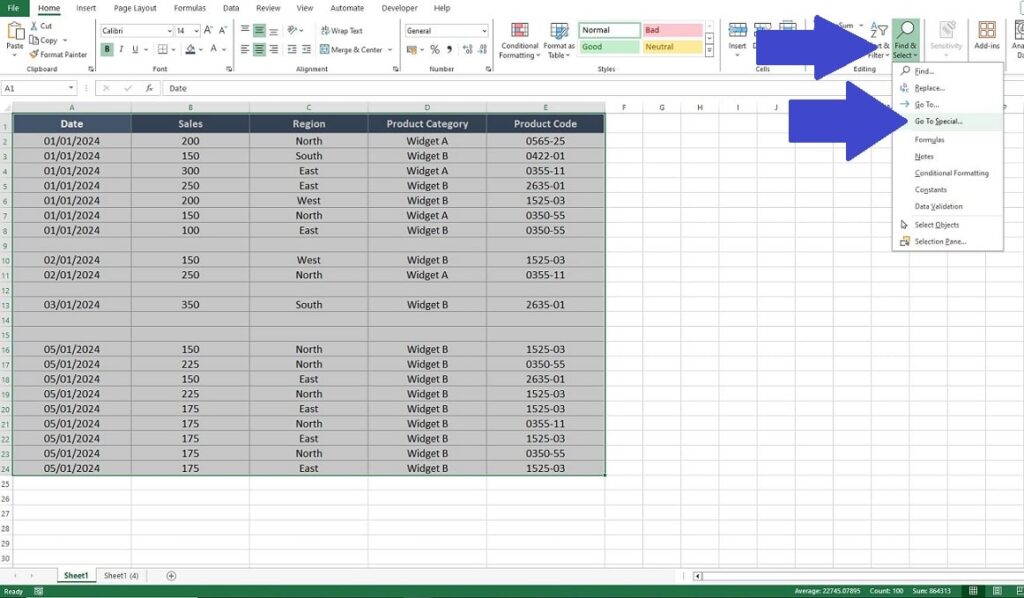
- Go to the “Home” tab on the Excel Ribbon, click “Find & Select”, then choose “Go To Special”.
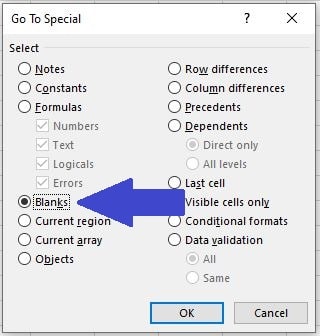
- Select “Blanks” and click “OK”. This highlights all blank cells in your data range.
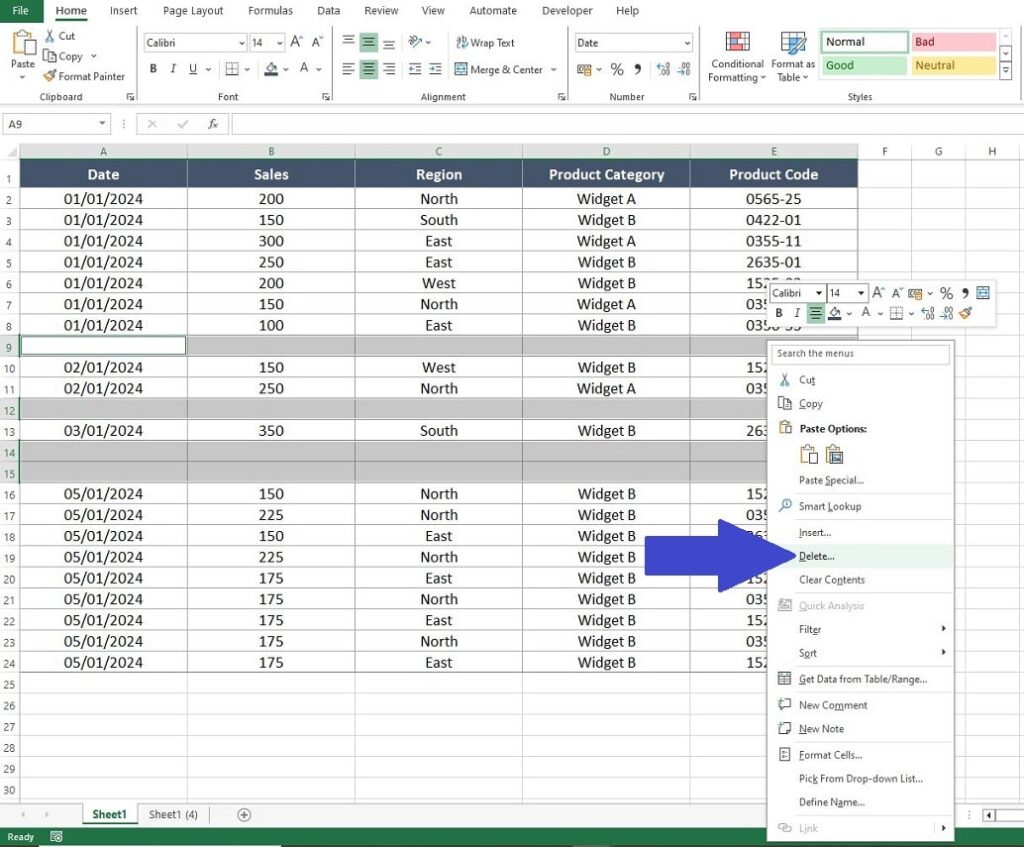
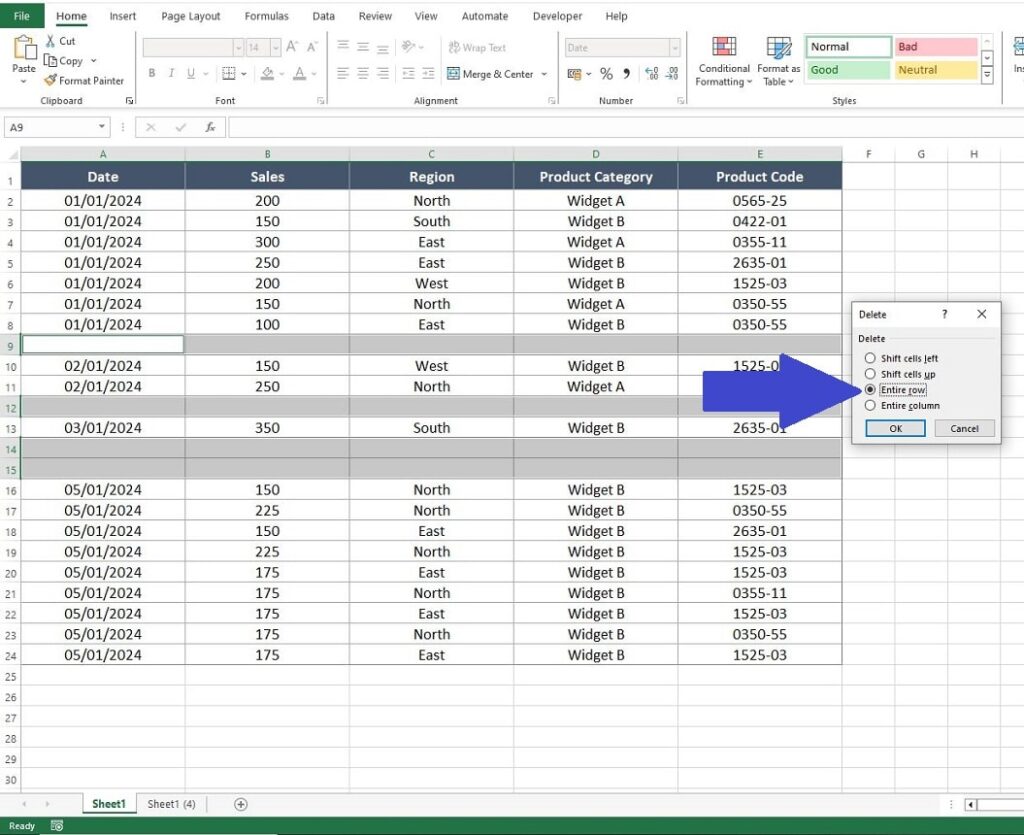
- Right-click on one of the highlighted cells, select “Delete”, and then “Entire Row”.
- The process is complete and the blank rows have been removed from the data range.

Method 2: Sorting to Identify and Remove Blank Rows
Sorting is a straightforward way to bring all blank rows together, either at the top or bottom of your dataset. Sorting is an easy and intuitive method, especially useful when working with large datasets. However, it may rearrange your data, which might not be desirable in all situations.
- Highlight your data range. Take care to make sure everything is highlighted including the blank rows.
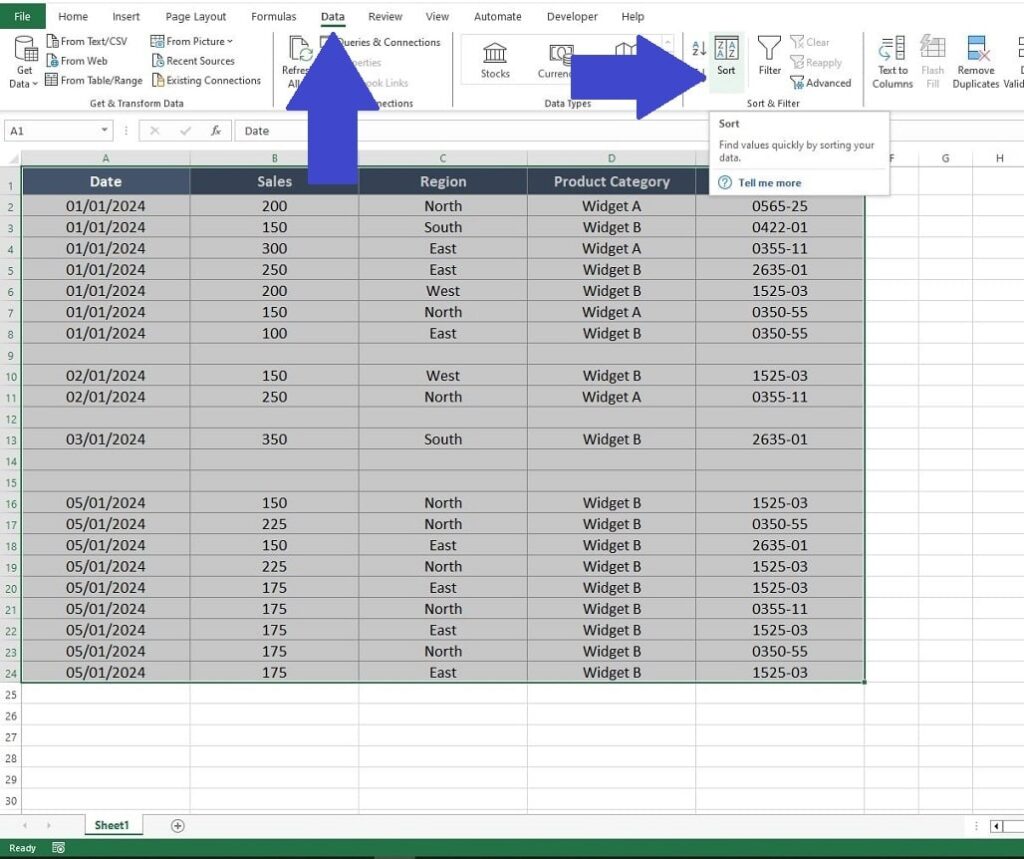
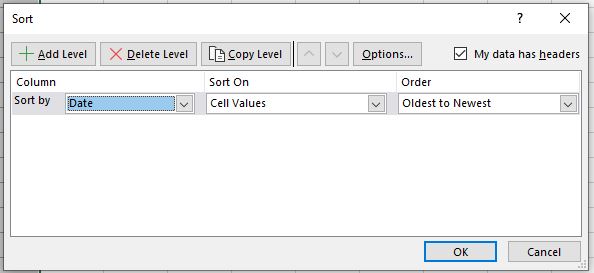
- Click on the “Data” tab, then on “Sort”.
- Choose one of the columns to sort by and a sorting order. It makes no difference what column or order you select so select the first column in your data.
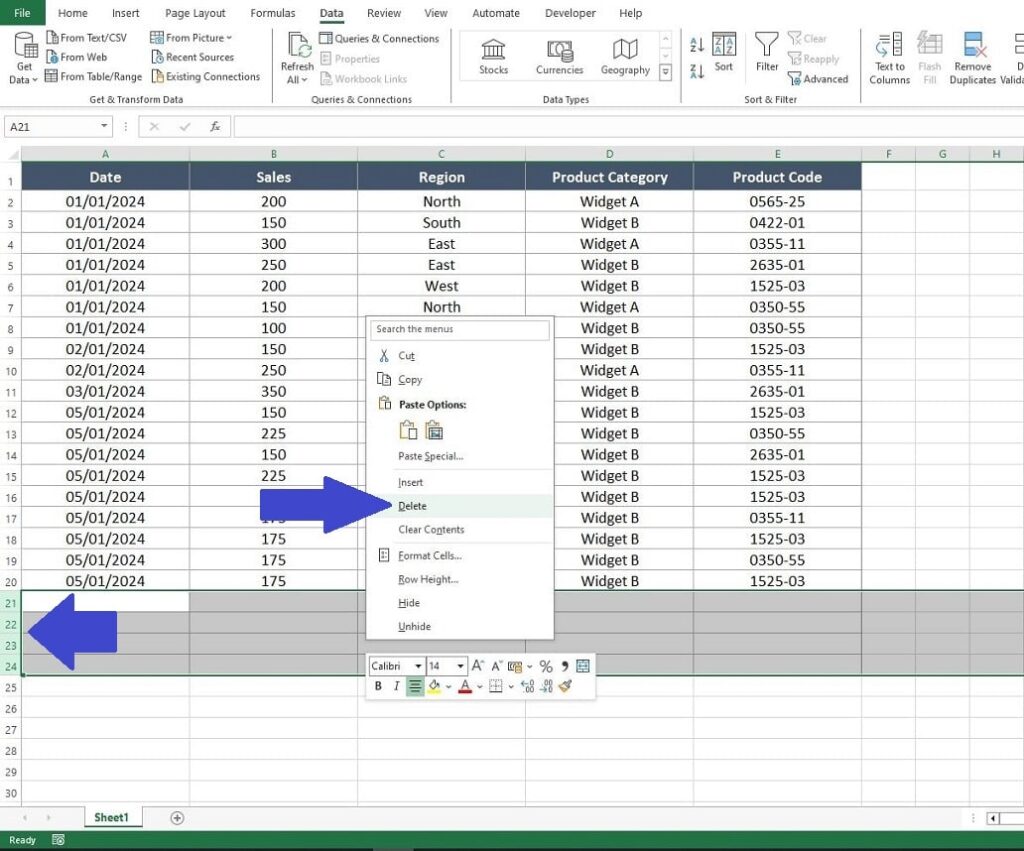
- Blank rows will group together at the bottom of the table. This allows you to easily highlight those rows, right-click and select ‘Delete’ to completely remove them from your table.
Method 3: Filtering Out Blank Rows
Filtering allows you to hide blank rows in your dataset, making it easier to delete the rows that contain data. Filtering is effective for datasets where you want to maintain the original order. It’s a non-destructive method, but it can be a bit more time-consuming than the other two methods.
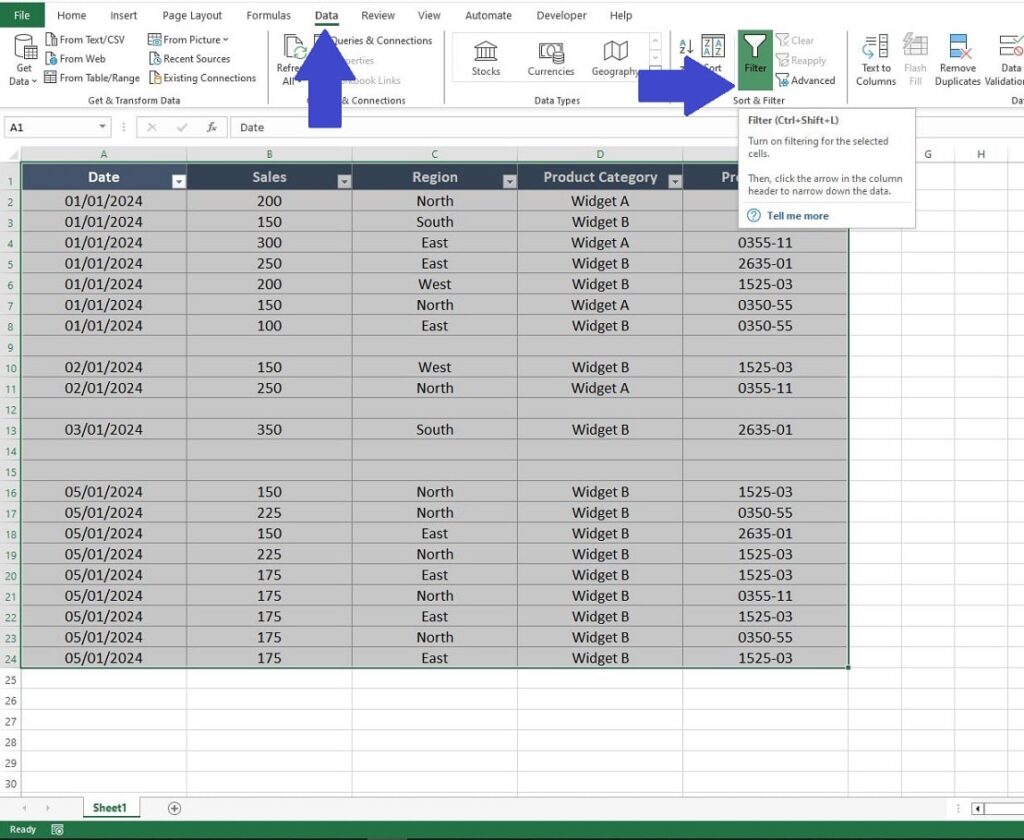
- With all your data selected: Apply a filter by selecting your data and clicking “Filter” under the “Data” tab.
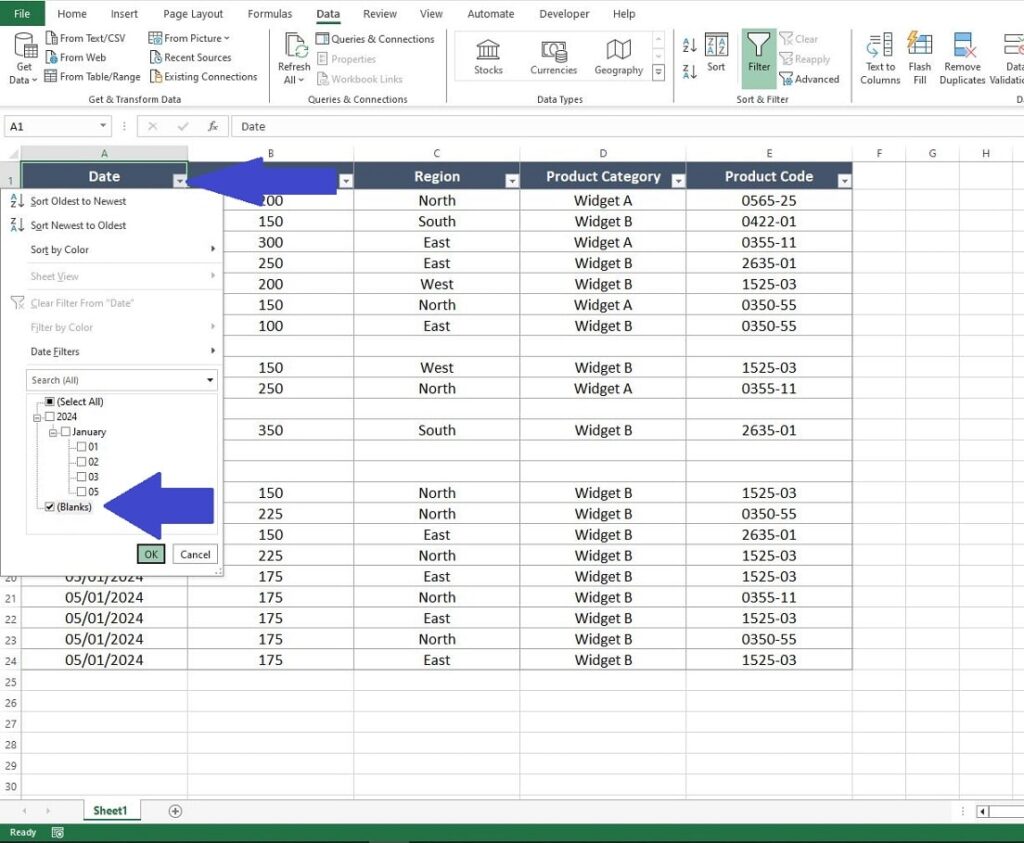
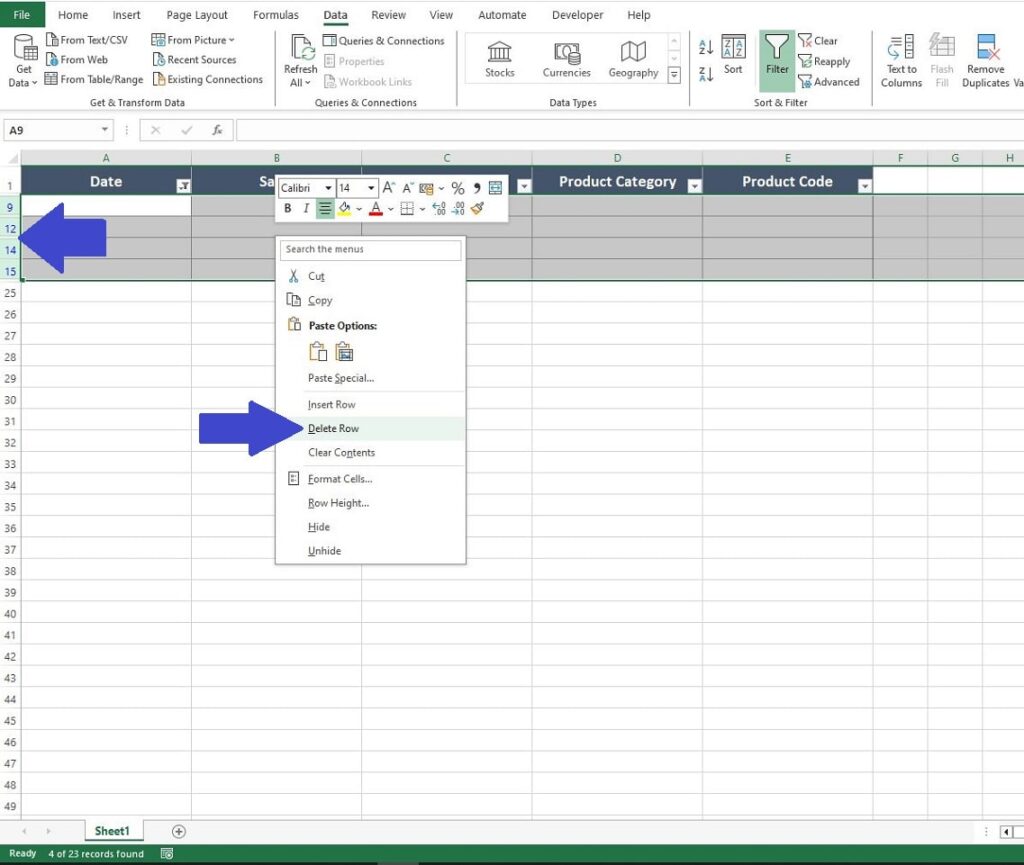
- In the column dropdown, uncheck “(Select All)” to remove all the check marks, then check “(Blanks)” and press “OK”.
- With the blank rows hidden, select and delete the remaining visible rows. You can do this by holding down the left mouse button and scrolling down the blank row numbers on the left side of the window, this highlights them. Right-click anywhere on the highlighted region and select Delete Rows.
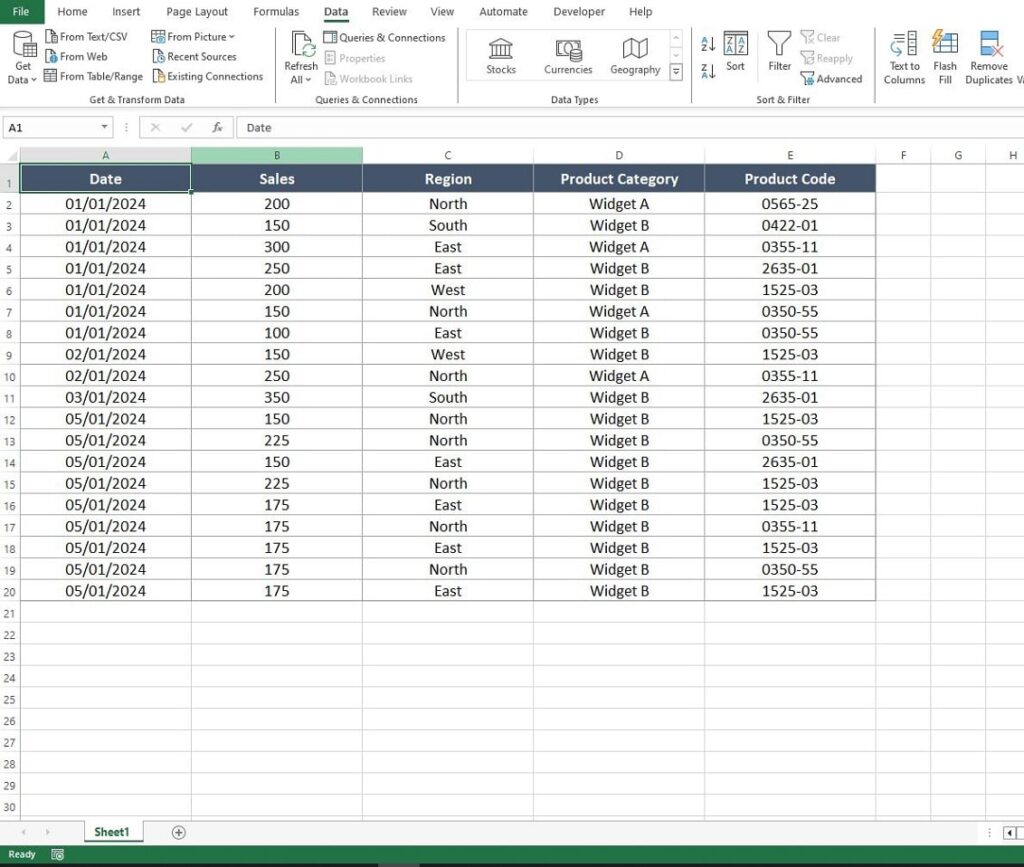
- Click the Filter Icon in the Excel Ribbon again. This removes the Filter from the data table and the remaining data will appear, minus the blank rows.
Comparing the Methods
When you’re looking to remove blank rows in Excel, choosing the right method can make all the difference. Each technique offers unique benefits depending on your dataset’s size and your need to preserve the original data order. Let’s dive into a comparison:
- ‘Go To Special’ Command: This is an efficient way to remove blank rows in Excel, particularly when you need to quickly find and delete all blanks in a selected range. It’s fast and effective, but caution is needed to prevent accidental loss of important data.
- Sorting: Sorting is your ally when dealing with large datasets and where reorganizing data is not a concern. This method is straightforward and excels in moving all blank rows to one area for easy deletion. However, it does alter the original order of your data, which might not be ideal in every scenario.
- Filtering: If maintaining the original order of your data is crucial, filtering is the method to use for removing blank rows in Excel. It’s particularly suitable for datasets where a meticulous, non-destructive approach is needed. While filtering is less efficient for very large datasets, it offers precision and control, ensuring the integrity of your data structure.
Selecting the right approach to remove blank rows in Excel depends on your specific needs and the characteristics of your dataset. Understanding the strengths and limitations of each method will help you keep your Excel sheets clean and organized.
Summary
In summary, each technique to remove blank rows in Excel is tailored to suit various needs and types of datasets. Whether your go-to choice is the quick ‘Go To Special‘ command, the comprehensive sorting method, or the precise filtering approach, it all hinges on the specific requirements of your Excel project.
Mastering these methods to remove blank rows in Excel will significantly enhance your efficiency, transforming them into essential tools in your Excel arsenal. They ensure that your spreadsheets are not only clean but also highly functional, paving the way for more effective data analysis and compelling presentation. Remember, the clarity and organization of your spreadsheet are crucial for making the most out of your data. Keep practicing, and soon, these methods will become second nature in your journey towards Excel mastery!
Keep Excelling,

Just mastered the art of keeping your spreadsheets clean by removing blank rows? Great! Now, let’s take your Excel skills up a notch. Click here to discover ‘7 Ways to Protect Your Data in Excel‘ — because a clean spreadsheet is good, but a secure one is essential. Learn the insider tips to safeguard your data like a pro